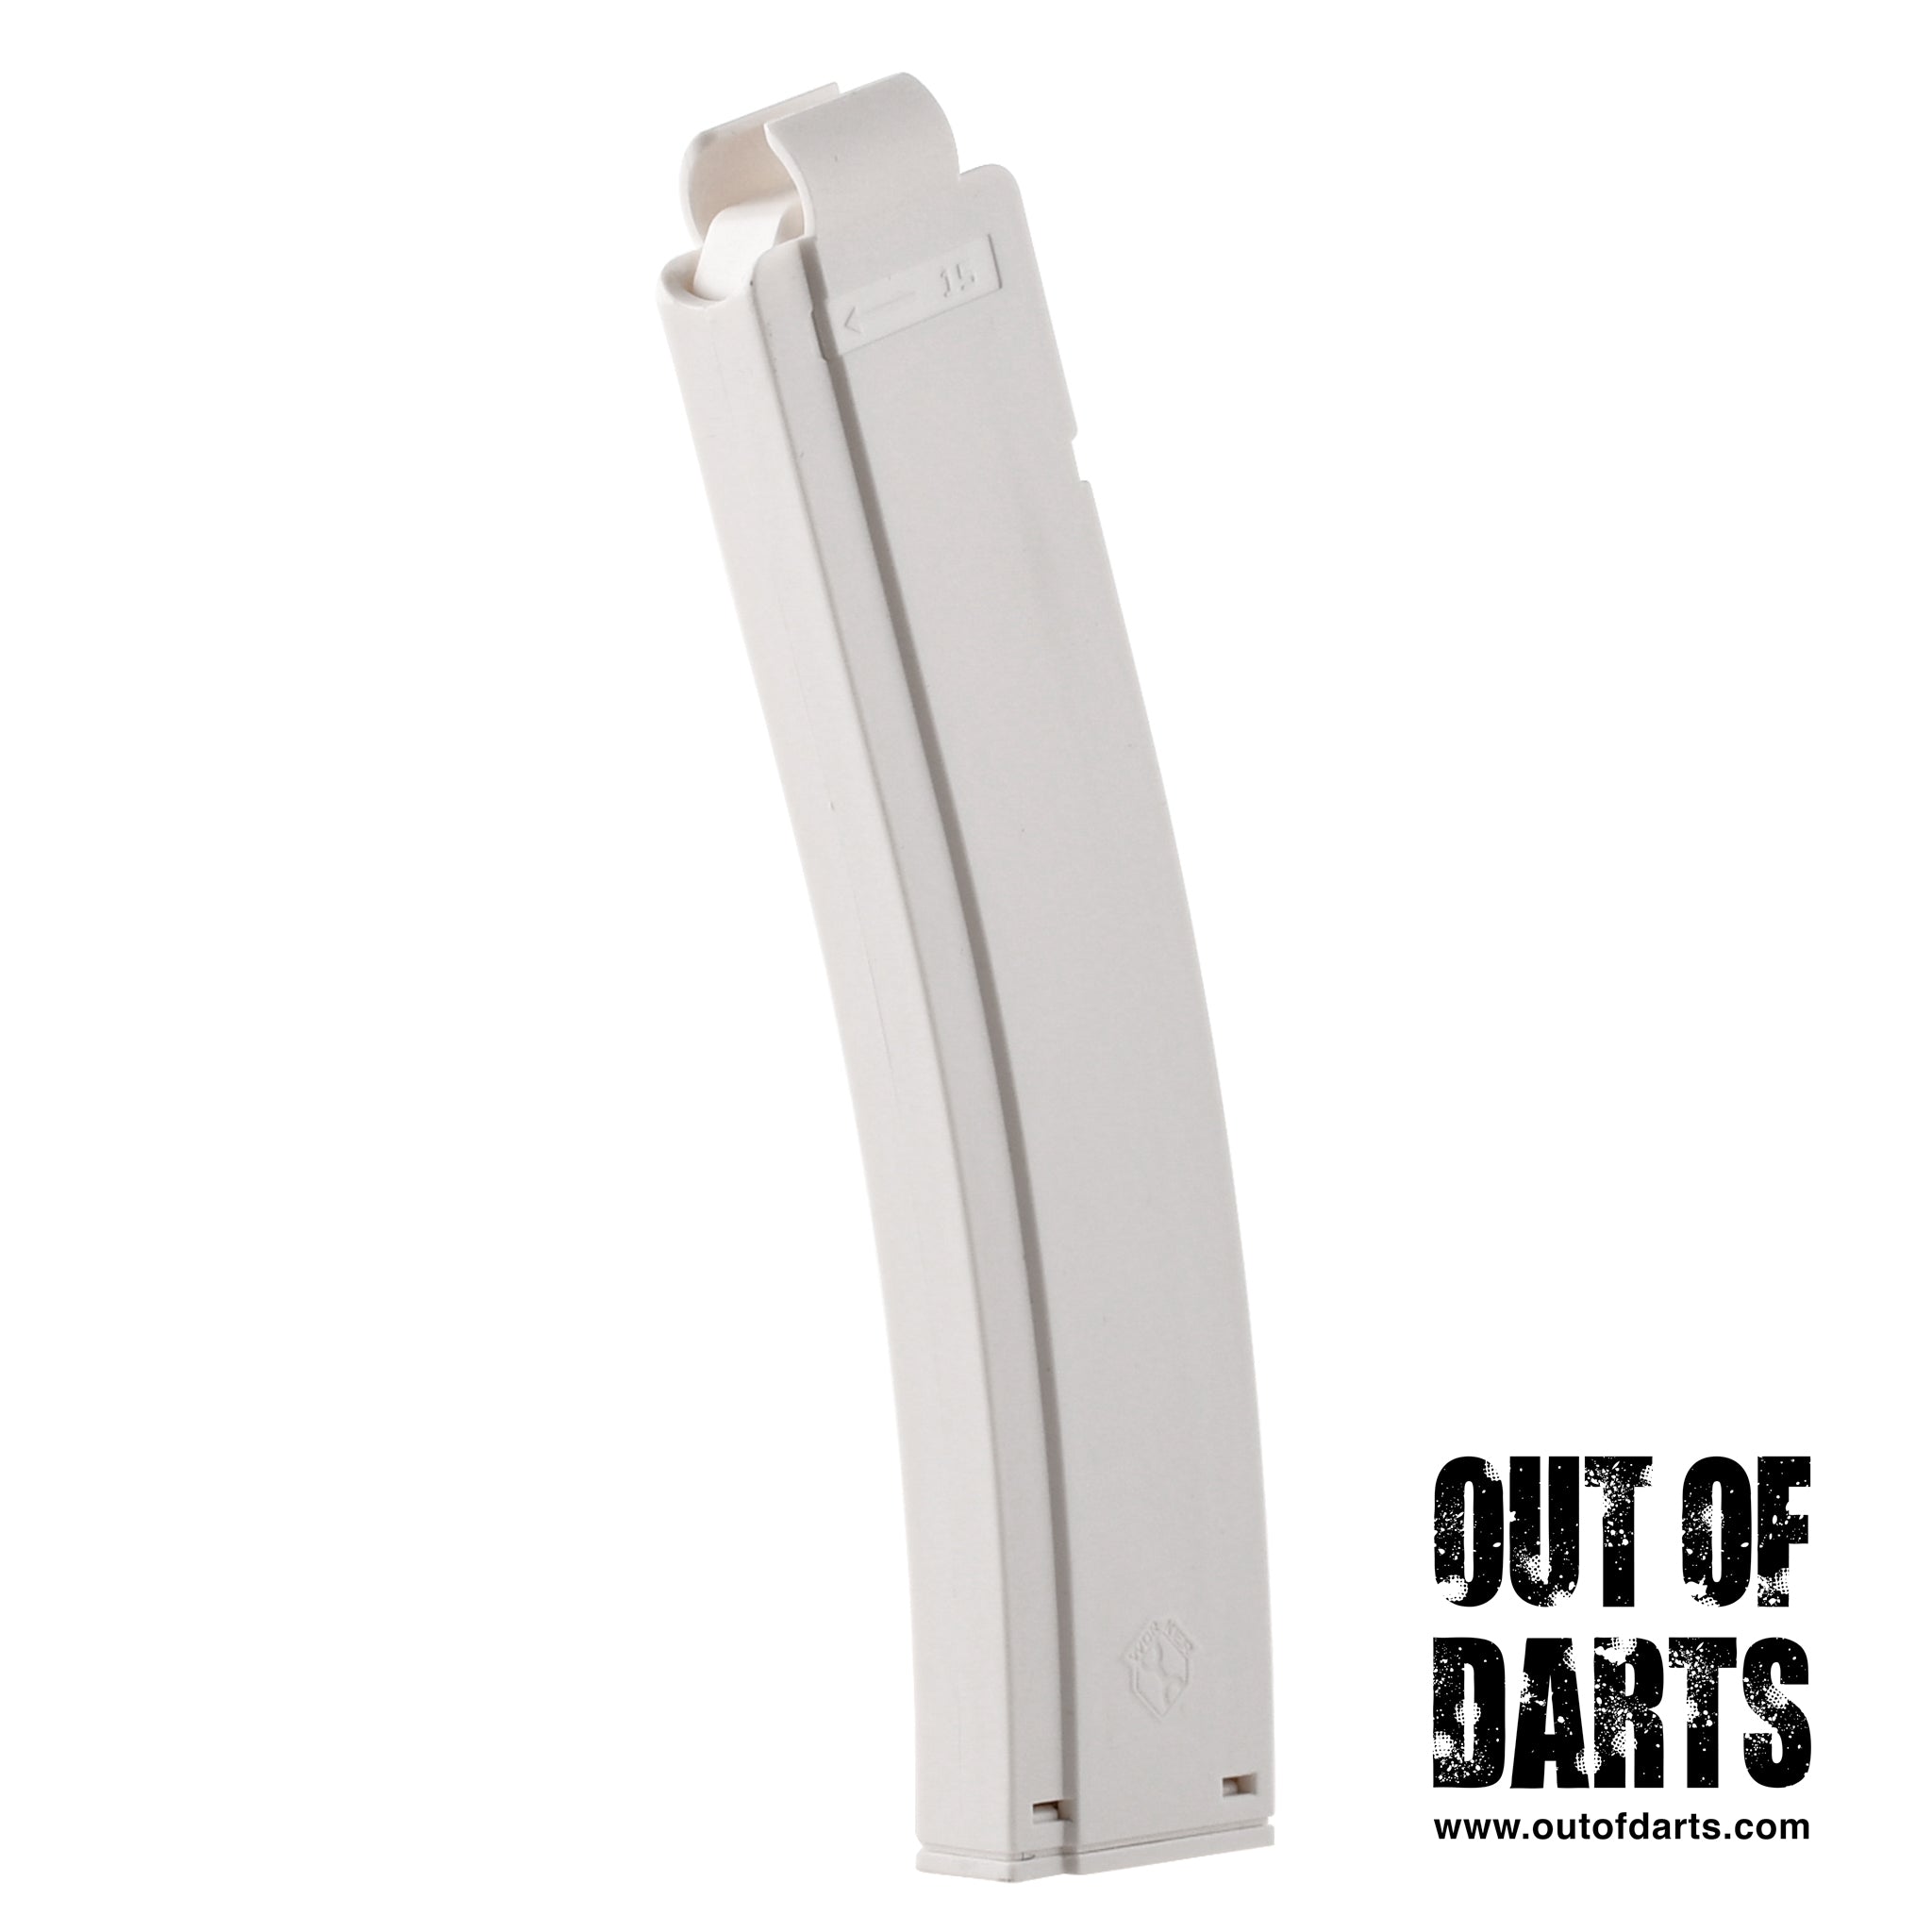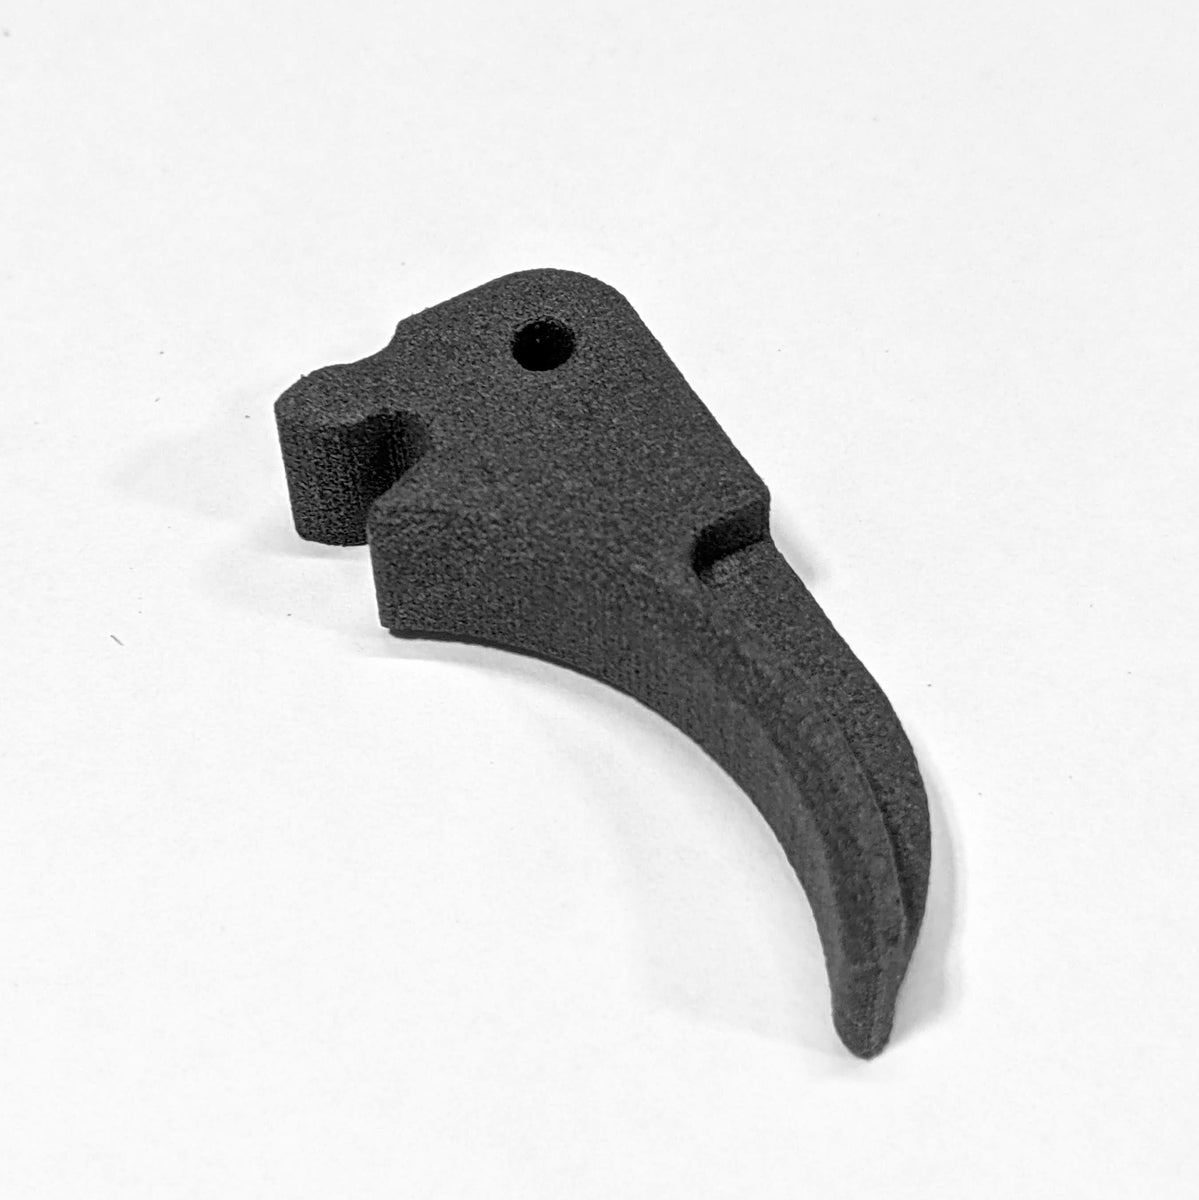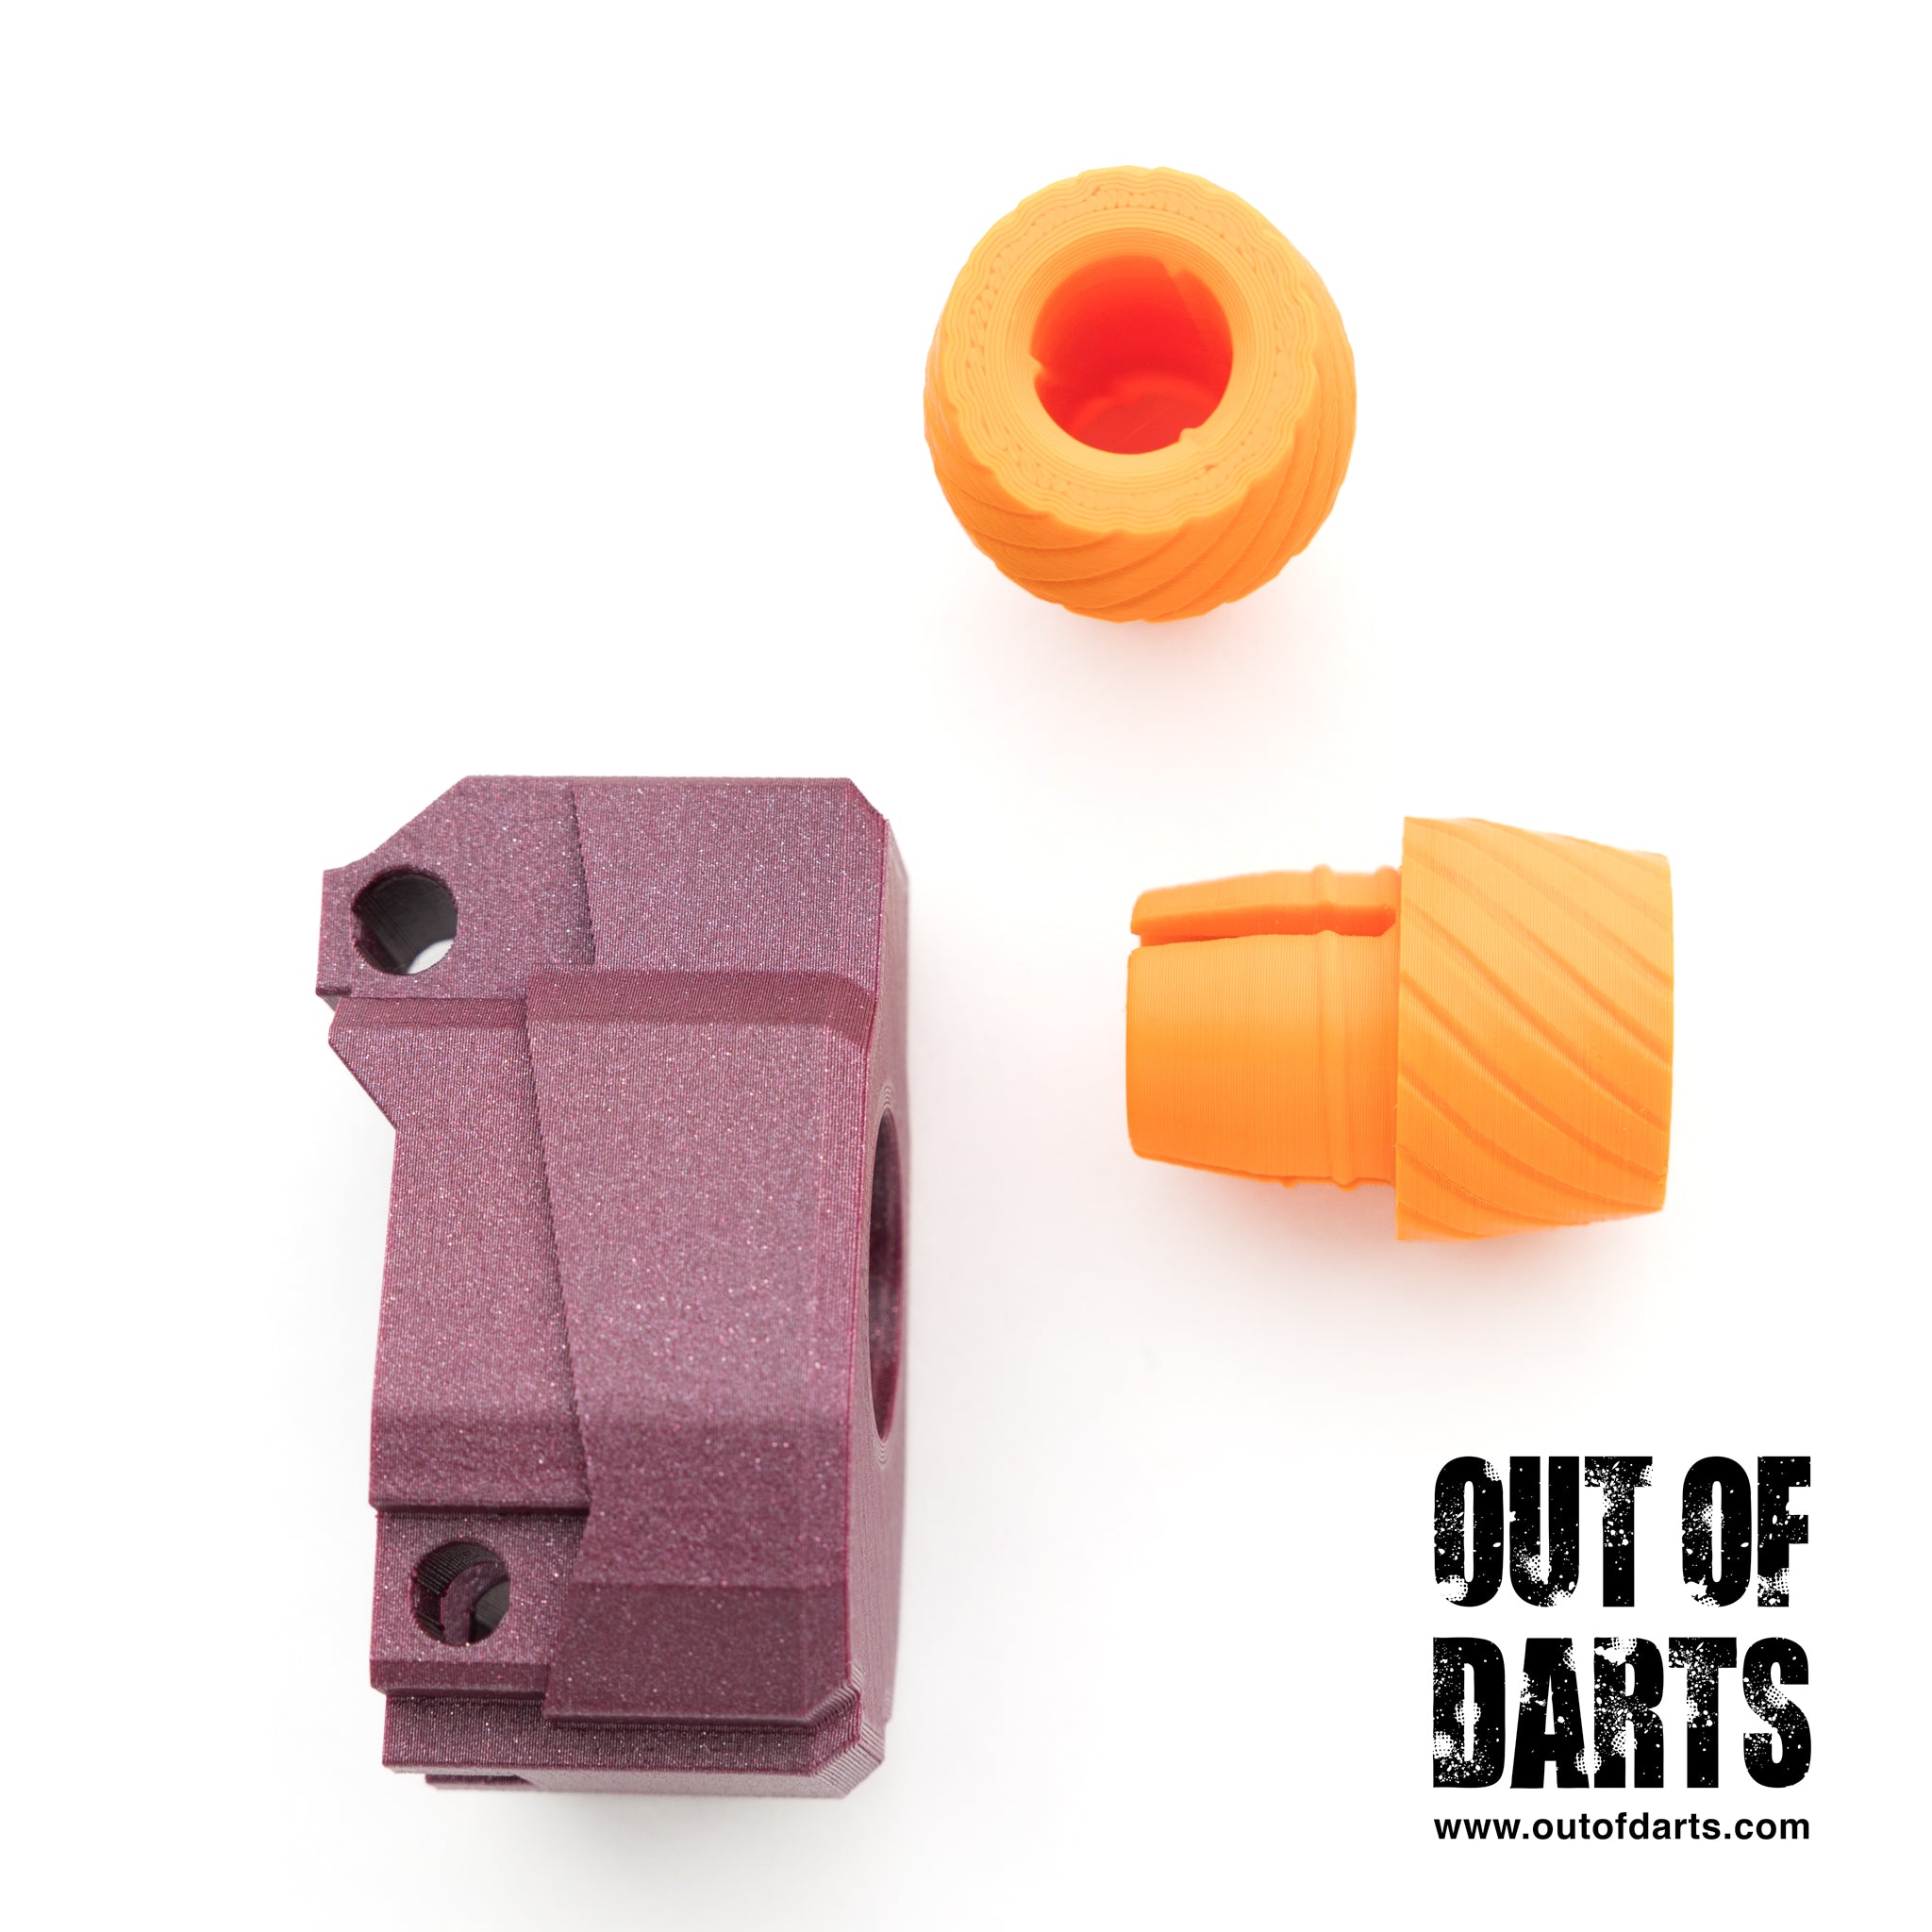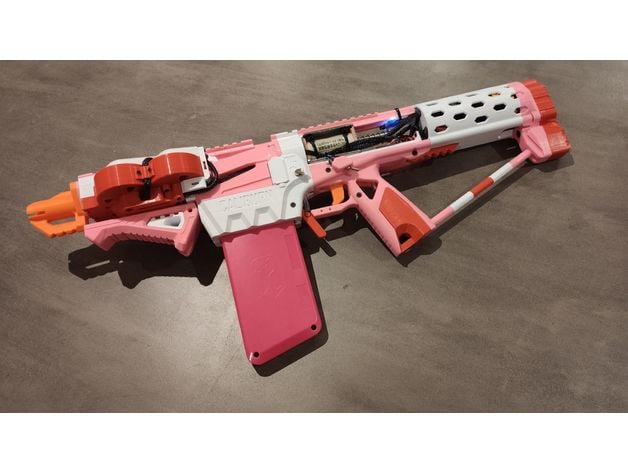
Dual Stage Brushless Caliburn, as seen here:https://www.youtube.com/watch?v=K4VExc-QwSc Important!!! This build is not for everyone. If you decide to build this, you will need skill and familiarity with building both the Caliburn (or family) and brushless systems - ideally a T19. You have next to no margin for error in wire lengths - they have to be perfect. And you will be using a combination of metric and imperial hardware. This build will be expensive. I will not help you. Well, maybe if you ask nicely. This blaster can fire hard enough to hurt people. The upper edge of the flywheels are exposed. The electronics are partially exposed. The solenoid pusher is partially exposed. Be aware of the dangers of using this blaster. Hardware Required 4 x Brotherhobby R6 motors, 2700kv (you want fast) 4-in-1 blheli_32 ESC with 30.5x30.5 mounting format. I would recommend the Hobbyking one, as it has a lot of onboard capacitance (you won't have room for a bus cap), and comes with dupont 35mm solenoid with upgraded spring. 8 x 6-32 1" imperial fasteners with tap (for the Hycon cage) Assortments of M2.6 self-tapping screws in 6, 8, 10, 12 lengths 16 x Countersunk M3 x 8mm for motor placement 4 x Countersunk M4 x 6mm for solenoid mounting Assortment of M3 countersunk screws for the Caliburn body Assortment of M5 socket / button head for the AFG mount, stock pad, and lower flywheel cage bracket -> magwell bolt (in lieu of short lengths of M4 threaded rod) M5 threaded rod - a few lengths. Rear is per Caliburn, front you'll need to measure the top piece Selection of M5 hex nuts and nyloc nuts Select fire selector switch - Miniature Toggle with On-Off-On positions (i.e. https://www.jaycar.com.au/spdt-centre-off-miniature-toggle-switch-solder-tag/p/ST0336) Fire switch - Standard microswitch (https://au.rs-online.com/web/p/microswitches/0517814/) 3 x M5 x 50mm clevis pins 4S pack. I use turnigy 2.25ah and have modelled it to fit. Narfduino Optionally, a HC-05 bluetooth module (reprogram to 57600 kbps). Use whatever technique required to have it accept 5v TX from Narfduino and 5v power. You can buy complete modules, however I typically get a bare module and build my own regulator & voltage divider for the TX logic level conversion - it's harder to do, but more compact. Without Bluetooth, it will be a headache to configure and tune. Some way to tune & test the ESC (I have a nano to do this, but you can use the narfduino, if you must). Wire, connectors, etc. Pins suitable for a caliburn rear-end Springs suitable for a caliburn trigger and mag release Printing Notes Unless specified, one of each is required. 4 outers and whatever infill you like.Print in whatever orientation you like, and work out your own supports. Flywheels: Print 4. Use lightweight printing - 3 outers, 20% infill. I use cubic infill for balance. Ensure your machine is straight and printing true. Hycon Gamma 2-1 R6 2205 Dual: 6 - 8 outers, 100% infill. Don't skimp. Pusher Nub: Basically all outers. Mag Lower, Upper, Milan coupler: 6-8 outers, whatever infill. Front Wire Guide: Print 2 Spacer Tube: Print 5 - this is for the butt -> grip rod. Assembly Notes The Motor cage and barrel tac rail need to be glued together using epoxy (or something similar). This holds the front of your blaster on. Be especially careful in the motor cage area to get the screw lengths right. Use as long as possible, but don't penetrate the other side of the hole. This is especially important with the ESC The ESC will be soldered in place.You will need to tune the ESC according to the motors - but I would suggest starting with 125% startup power, 20-24 degrees timing, 48khz pwm. Don't forget to turn off throttle auto-calibrate. The select fire switch is friction fit. Pad with electrical tape to make it tight. Spend time fitting the trigger switch properly. You should ensure the switch lever isn't too long, and a combination of bending the lever and shaving the sear nub will get it right. You want it to feel nice, and come on about half-way through the pull I use blu-tac to hold the Narfduino in place. Pay extra attention to the wires to keep them away from the solenoid pusher, as the Narfduino is mostly under the pusher. The front to rear wiring harness is the ESC power on one-side (please follow the channels I have cut into the upper magwell) and the signal wires down the other side. However you can work out what seems natural for you. I cable-tie the wires to the solenoid core to keep them in place. You should use the positions for the 2mm pins in the rear print portions. I glue them in one side, so that they don't get lost. It adds a lot of stiffness to the blaster. Wiring ESC -> D10 (You will need to make a 1:4 adapter) Trigger switch -> A2 (D16) (other side to Gnd) Select Fire Left -> D12 Select Fire Center -> Gnd Select Fire Right -> D13 (optional Bluetooth) Bluetooth RX -> Narfduino TX (if using a bare HC-05 board, use a 1:3 voltage divider) Bluetooth TX -> Narfduino RX Bluetooth Key -> Gnd Bluetooth Gnd -> Gnd Bluetooth VCC -> 5v (if using a bare HC-05 board, run through a 3.3v regulator with cap first) Firmware tba Configuration tba mostly Configuration is provided through a serial interface at 57600kbps (or often incorrectly called baud). N,8,1 as normal. If you elect not to use a bluetooth module, you need to connect a USB cable to your PC and the Narfduino, being especially careful not to allow the solenoid to catch on anything. If the solenoid catches the Narfduino, it will probably destroy it. For help and/or current configuration options: type in ? and hit enter Commands are laid out like: #FP-080$ (FP = Full Power, 080 = 80%) Type them in exactly, in upper case, and use the correct number of digits as indicated. Use leading zero's if required. Command list: #FP-XXX$ - Power setting where XXX = 030 to 100 #BS-XX$ - Burst size where XX = 01 - 99 #BR-XX$ - Burst Rate of Fire where XX = desired DPS (99 = max). Pusher may not achieve this in reality #FR-XX$ - Full Auto Rate of Fire where XX = desired DPS (99 = max). Pusher may not achieve this in reality #PH-XXX$ - Solenoid full battery pulse time where XXX = 001 - 500 milliseconds #PL-XXX$ - Solenoid low battery pulse time where XXX = 001 - 500 milliseconds #SR-XXX$ - Solenoid retract time time where XXX = 001 - 500 milliseconds #MA-XXXX$ - Motor ramp up time where XXXX = 0000 - 5000 milliseconds #MD-XXXX$ - Motor ramp down time where XXXX = 0000 - 5000 milliseconds (n.b. setting this too low will cause flywheel melting) #UD-XXXX$ - Motor on dwell time where XXXX = 0000 - 5000 milliseconds (this allows more time to stabalise the motors before firing) #DD-XXXX$ - Motor off dwell time where XXXX = 0000 - 5000 milliseconds (this holds the motors running after a shot for snappy follow-ups) ? - will display current settings and blaster parameters. n.b. Firmware is in tuning, and this may change. Solenoid Tuning In order to get a good solenoid tune, you need to have 3 things: Push-out time while LiPO is fully charged, push-out time while LiPO is depleted, and retract time. It is advisable to disconnect the ESC signal wire so that you don't have the motors draining power, and affecting your tune. Focus on the return rate first. Set PH and PL to 150 milliseconds (#PH-150$ and #PL-150$). Set Auto ROF to 99 (#FR-99$). Set select fire switch to auto. Start at 100ms (#SR-100$) to see if the solenoid is fully retracting between shots. You might be able to use your finger to feel it. Increase or reduce this number until you have a consistent and reliable retraction. n.b. solenoids will retract slower with a fully loaded magazine, so once you have found the number, add a bit extra to it (like 10ms) Then focus on the fully charged pulse time. Fully charge your LiPO. Start reducing both PH and PL (keep the numbers the same) until it's quick, but not so quick as it's short-stroking. Use your finger up the magwell to determine how hard the solenoid is hitting it. Keep reducing the time until it starts to feel weaker, then back off. Add a bit extra to it for safety margin. Write down this value. For the low battery discharge time, bring the LiPO to storage charge. Then do the same thing as above. Once you have both the PH and PL value, key them in and test the solenoid over a range of battery values. Reducing the timing will make it faster, at the expense of reliability. License You are free to use this for non-commercial purposes. If you want to commission this blaster, you will need to talk to me about it.
- Master Blaster List
- CC BY-NC 4.0